
Maps
The BloxNote map room by room: task spawns, blind corners for notebook kills, choke points for ID grabs and the hiding spots worth memorising before you queue.
Introduction
BloxNote uses a single compact map recreated from the source material, and because the play space is small, map knowledge is one of the fastest edges you can gain. The layout is built from task rooms where the upload and wires interactions spawn, open corridors that favour Investigators who want witnesses, tighter doorways that favour Kira closing in for an ID grab, and blind corners where sightlines break long enough for a name to be written. There is also a pre-round lobby with interactive props and cosmetic displays, which is the only place you can study other players before roles matter. Learning which routes are safe, which rooms are death traps during a view-locking task, and where the lobby naturally clusters is worth more than any single mechanical tip.
BloxNote Map Zones & Risk
| Zone | Main Feature | Task Spawns | Risk Level | Best Used For |
|---|---|---|---|---|
| Task Rooms | Terminals and panels | Upload and wires | High | Meter progress with witnesses |
| Blind Corners | Broken sightlines | None | High | Kira writing names unseen |
| Open Corridors | Long visibility | Occasional | Low | Safe transit and public task work |
| Choke Points | Tight doorways | None | Medium | Closing distance for an ID steal |
| Lobby | Pre-round social space | None | None | Reading names before spawn |
Map Zones
Task Rooms
The rooms where uploads and wires spawn, and the most dangerous places to spend time.
Blind Corners
Sightline breaks where the killing team can steal an ID and write a name without witnesses.
Open Corridors
Long sightline routes that trade travel time for safety, and the task team's natural highways.
Choke Points
Tight doorways and narrow transitions where distance collapses and ID steals become easy.
Escape Routes
The open corridors that let Investigators break line of sight contact and reach a group safely.
Core Mechanics
The map's strategic geometry comes down to a trade between visibility and convenience. Task rooms offer the most valuable progress in the game, but they also concentrate players in predictable spots, which is exactly what the killing team wants. Open corridors are the reverse: they are slower to traverse but deny Kira the privacy an ID steal and a write require. Choke points sit in the middle, funnelling traffic so that two players are briefly forced close together, which is why they are favourite ambush spots. A skilled Investigator plans a route that strings together tasks while staying in visible spaces, and a skilled Kira plans the opposite: a route that intercepts players as they leave a task room toward the quieter parts of the map.
Advantages
The best thing about a small, well-defined map is that it makes the game readable. Because there are only so many places to be, players can build a genuine mental model of where everyone is, and that model is what makes deduction possible in meetings. Investigators benefit most from this: a player who can say they were in a specific room at a specific time can corroborate their story, and anyone whose claimed position contradicts their observed direction is immediately suspect. For the killing side, the same compactness creates repeatable opportunities, but it also means that a careless Kira will be placed near the victim by the same map logic the task team is using.
Challenges
The limitation of the current map is variety. With only one environment live at the time of writing, experienced players learn the spawns and safe routes quickly, and the map stops generating new situations after a handful of rounds. The lobby, while charming with its chess boards and cosmetic displays, offers little strategic depth once the round begins. Community feedback also flags the task rooms as frustrating rather than tense, because some interactions do not properly block vision, meaning a player can be killed while apparently watching the approach. More maps would refresh all of this, and the developer's stated plans for additional content make that a reasonable expectation.
Frequently Asked Questions
How many maps does BloxNote have?+
Where are the best hiding spots in BloxNote?+
Where do tasks spawn in BloxNote?+
Quick Tips
Learn the route between task rooms before you learn anything else. The single most useful map knowledge for an Investigator is a loop that strings together the terminals and panels while keeping you in visible areas for as much of the journey as possible. If you can move between tasks without ever entering a single-entrance pocket, you have already removed the majority of the situations where Kira can act on you safely.
Treat a doorway as a decision point, not a place to stand. Choke points collapse the distance between players, which is the exact condition the killing side needs to steal an ID, so lingering in a frame while you decide where to go is genuinely dangerous. Decide your destination before you reach the door, cross it immediately, and if someone blocks the way or waits beside it, note their name for the next meeting.
Use the lobby to learn names before the round starts. The pre-round area with its props and displays exists mainly for social reasons, but it is also the only moment where you can memorise who is in the lobby and how the player list maps onto the group. Carrying that list into the round makes meeting reports far more precise, because you can name a player instead of describing a silhouette.
Do not assume a task room is safe just because it is busy. Crowds create noise and cover movement, so a kill near several players is not impossible; it simply requires the killer to time it against a moment when nobody is looking. Position yourself with your back to a wall rather than an open corridor, work from an angle that keeps other players in your peripheral vision, and leave the room after finishing rather than idling near the terminal.
Featured
BloxNote Map Guide 2026: Every Room, Task Spot, and Trap
Tour the full BloxNote map guide 2026 with every room layout, interactive task marker, and the best kill spots compared to Death Note: Killer Within's arena flow.
BloxNote Hide Spots: Best Map Corners to Stay Unseen
Map out the smartest BloxNote hide spots across every room — tucked corners, line-of-sight breaks, and vent angles that keep Kira alive and Investigators guessing.
BloxNote Map Guide: Layouts, Callouts, and Room Names
Navigate every BloxNote map guide route with confidence — full layout callouts, spawn points, and room names so Investigators and L never lose track of a suspect.
All Articles
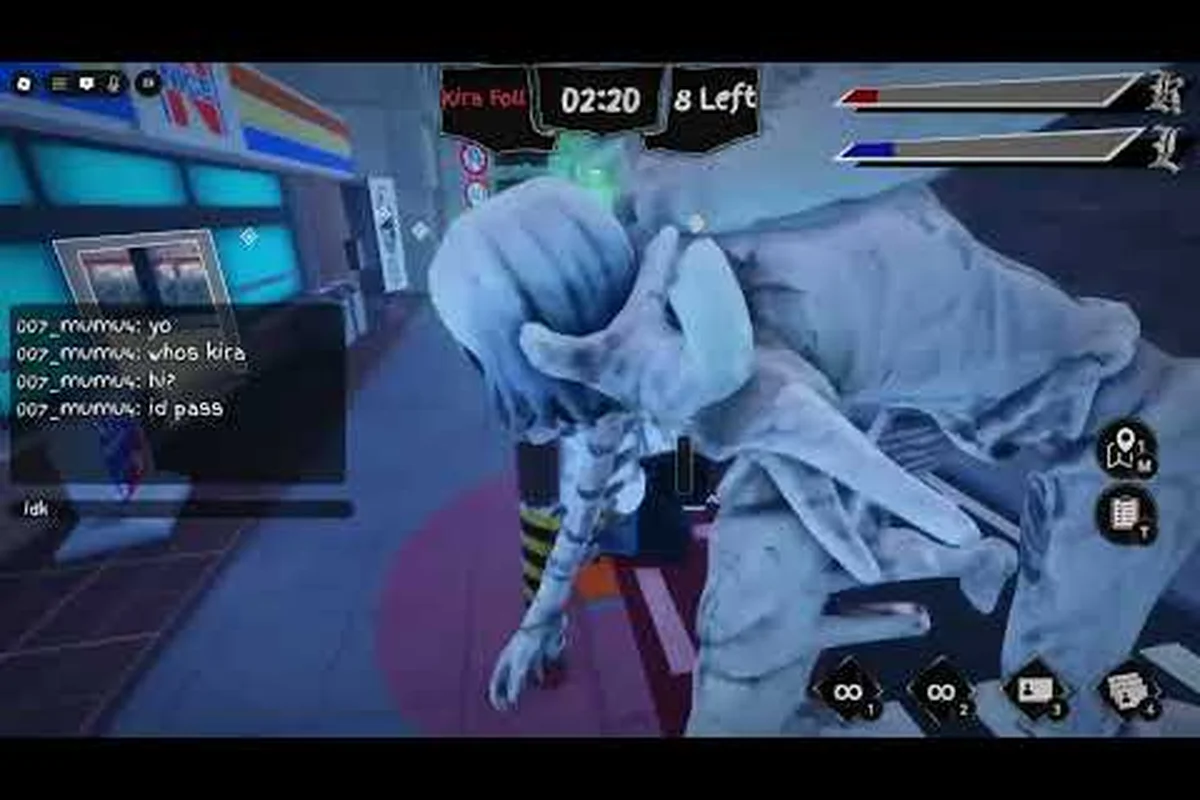
BloxNote Map Design: Choke Points, Corners, and Sightlines
Break down BloxNote map design room by room — choke points, dead corners, and sightlines that decide where Kira ambushes and Investigators patrol to catch them.
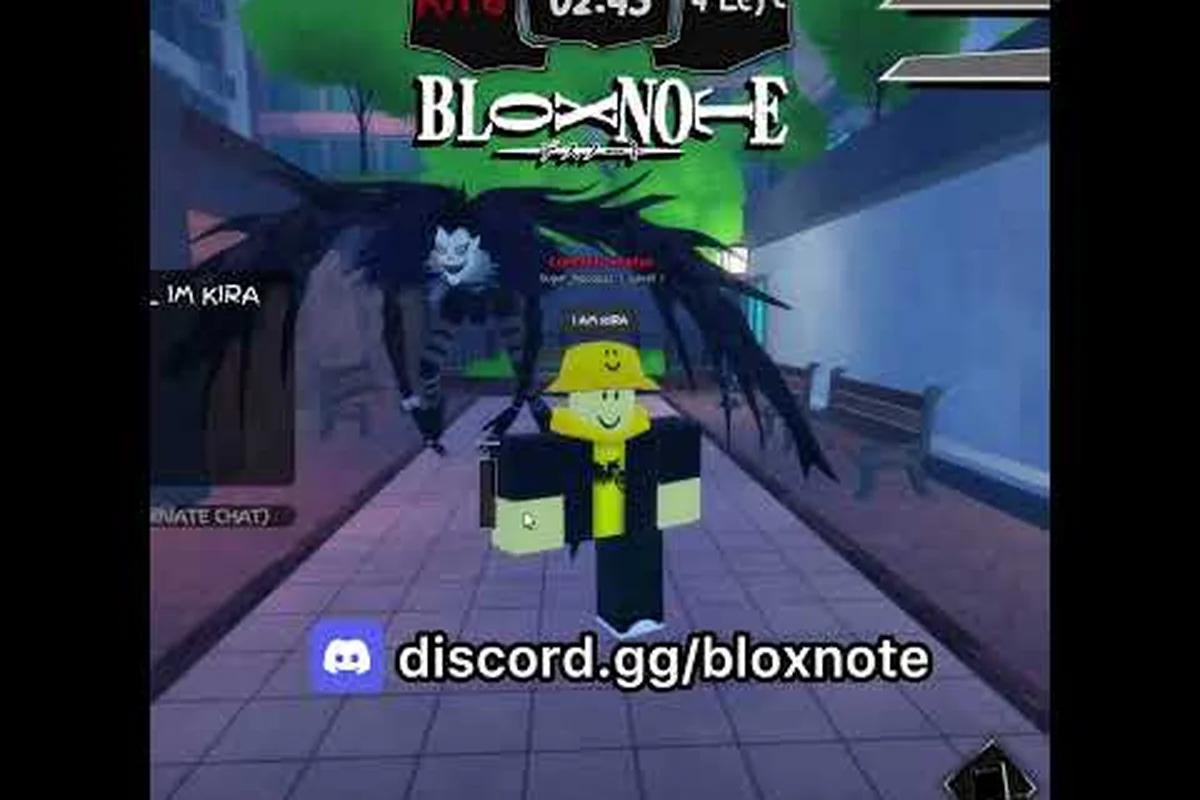
BloxNote Hiding in Plain Sight: Routes That Trick All
Master BloxNote hiding in plain sight with map routes through busy rooms, suspicious spots nobody checks, and lobby-side paths that make you look like a task runner.

BloxNote Chess Boards in the Lobby: Secret Easter Egg Guide
Find every BloxNote chess board tucked into the lobby — the secret spawn pattern, what the pieces actually do, and why this easter egg hints at upcoming map changes.
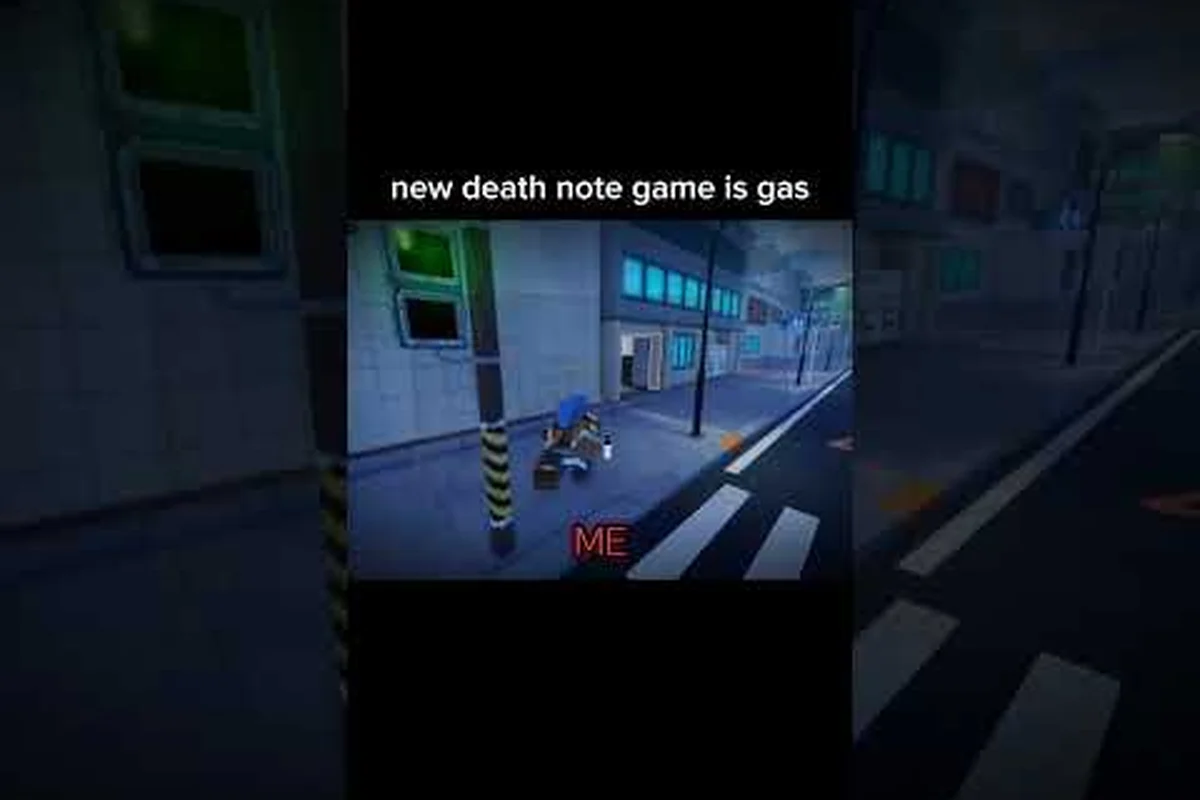
BloxNote Secret Areas: Easter Eggs and Hidden Map Spots
Uncover every BloxNote secret area — easter egg rooms, tucked-away city corners, and hidden building spots that give ambush lines and watch positions.